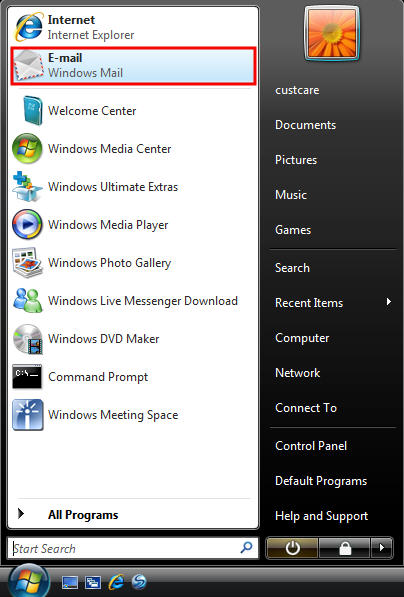
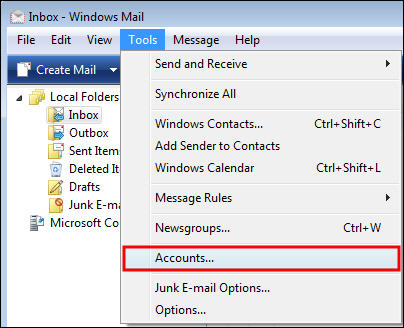
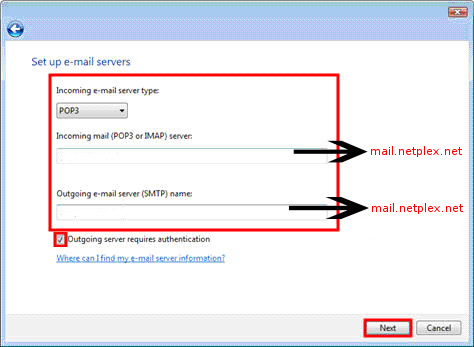
Mail Server names:mail.netplex.net NOTE: In Windows Vista, Windows Mail replaces Outlook Express as the standard Windows email client. Setup
|
||||||||||||||||||
|
DIAL-UP Technical Support
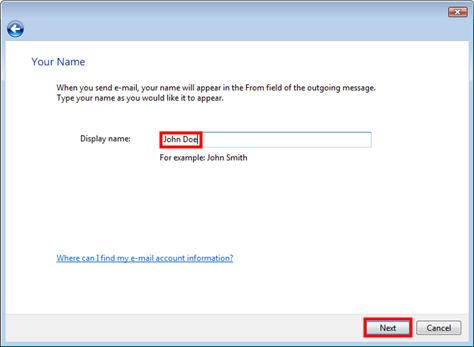
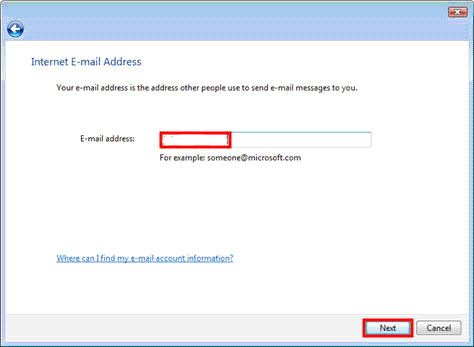
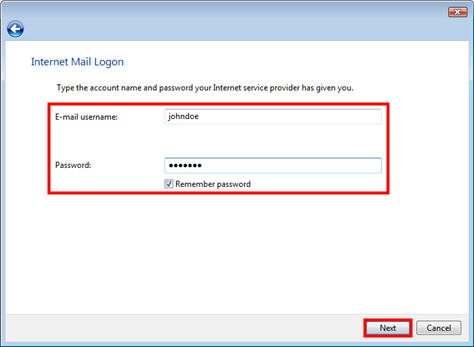
Configuring E-mail Settings for Windows
Outlook 2000
Outlook XP
Outlook Express 4+
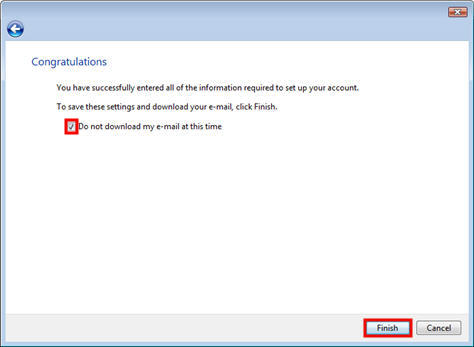
Vista
Thunderbird
Netscape Mail 4.05 and up
Eudora Lite
Configure E-Mail
Settings for Mac
Mac Mail OSXThunderbird
Eudora
Microsoft Entourage
Netscape Mail
